

How To Draw The Human Face In Proportion
archetype facial proportions
how to start a portrait
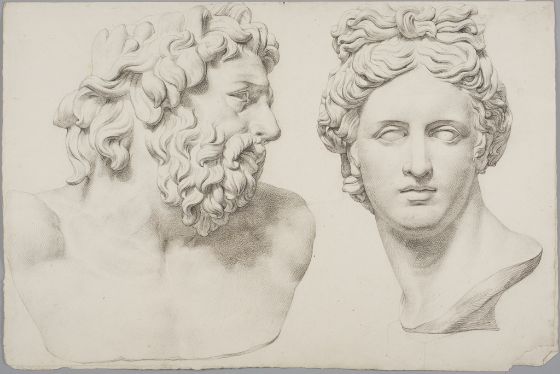
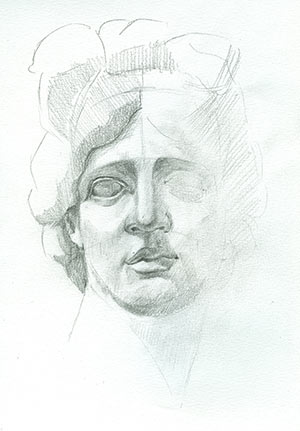
Unidentified Creative person
Studies of the Head of the Apollo Dais and Head of Laocoön
Property of Harvard Art Museums
Proportion refers to the human relationship in size and placement between one object and another.
When creating realistic portraits, information technology is important to get the facial proportions correct. True, at that place is a formula for positioning facial features. This formula should be used to assist you see and compare.
Classic facial proportions are the "ideal" proportions, that were developed in antiquity.
In real life these measurements vary from face up to face - that'due south what makes us all different - these variations is the tool for "likeness" in a portrait..
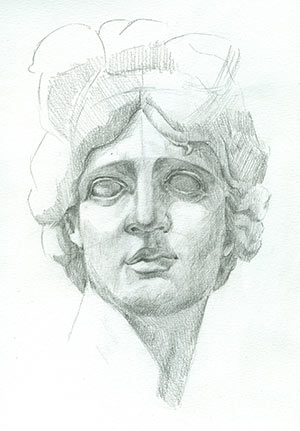
Apollo Belvedere
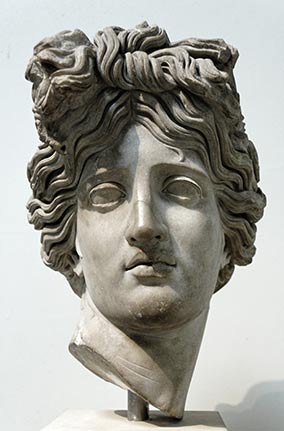
A elementary way to study classical proportions - is to study antiquarian statues.

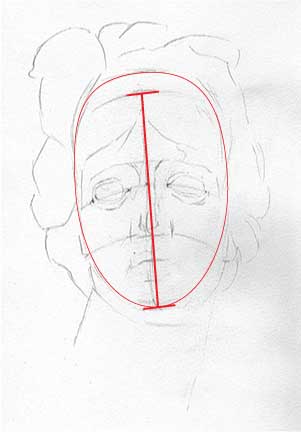
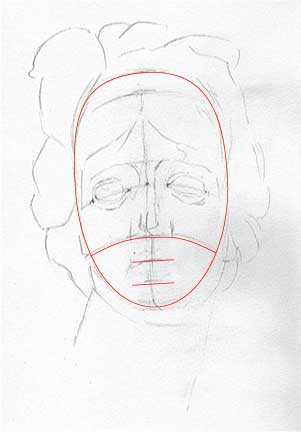
1. Outset with drawing a head shape.
Please annotation: head is not a brawl – it's more like an egg.
Use #2 pencil or harder (H or HB). Hard pencils are meliorate for light value and detailed shading.
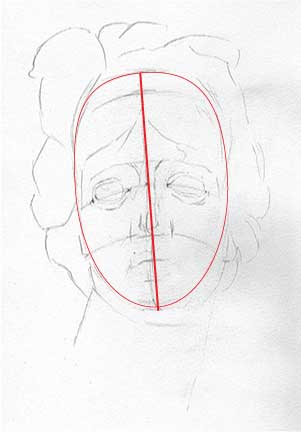
2. Draw a line through the middle of the face.
If the head is tilted – this centrality should reflect it.
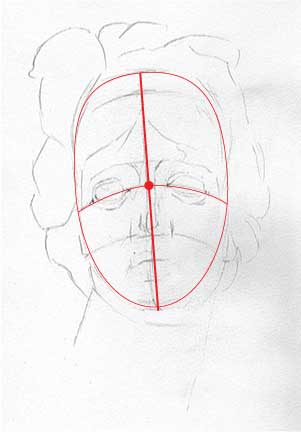
3. Find the center bespeak and draw a horizontal line through it.
This is your "eye line". Eyes' corners will be placed on it.
iv. Face is defined past a hairline at the top and a mentum at the bottom.
Divide face into three equal parts.
ane - hairline 2 - eyebrows 3 - nose base 4 - chin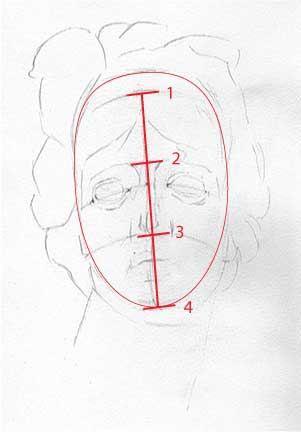
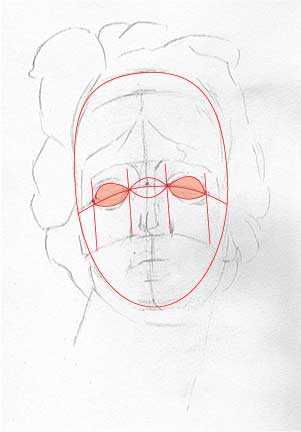
five. Place eyes onto the "eye line". The space between the eyes equals the size of an eye. Think this: "you could fit another middle in betwixt your eyes".
You tin also fit an entire nose into this infinite. The inner corners of your eyes are aligned with the outer corners of the olfactory organ.
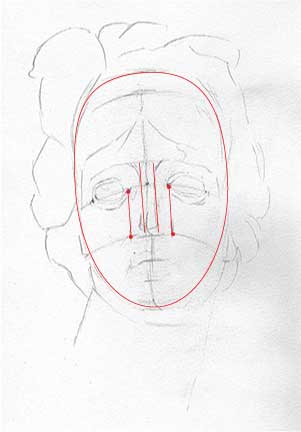
6. A nose has 3 sides: forepart, left, and right.
They have equal space.
Split the olfactory organ area into 3 parts.
7. Placing a oral fissure line is piece of cake.
Dissever the lesser third of the face up into three equal parts. The mouth line will go through the upper tertiary mark.
The lower third – is your chin.
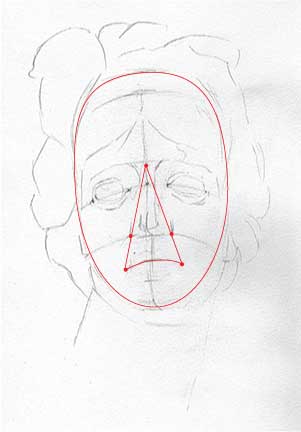
viii. To position the mouth corners – depict direct lines from the middle of the "countenance" line through the corners of the olfactory organ.
Mark the rima oris corners where these lines cross the oral cavity line.
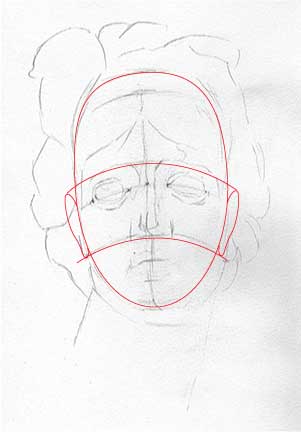
ix. The ears fit precisely inside the middle third of the face up.
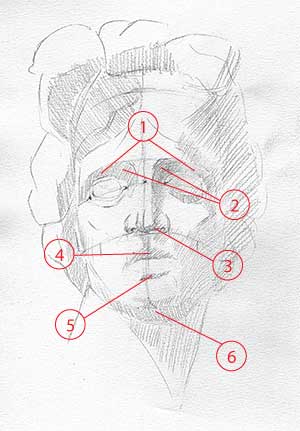
10. There are few areas in a confront that are typically darker every bit they get less light:
1 & 2 – under the brows, particularly in the corners
iii – under the nose
4 - Upper lip
5 – under the lesser lip
6 – under the chin
The residual of the values vary based on the light source.
xi. Start working on details now. Utilize your pencil equally a measuring tool for correct proportions.
Draw facial features carefully - pay attention to the forms and shadings.
12. Employ a variety of values. Note where the lightest areas are (highlights) - and leave then white. Note where the darkest shadows are.
The residue of the values - is a range of greys.
Remember:
Face is divided into 3 equal parts: hairline to eyebrows, eyebrows to the bottom of the nose, lesser of the olfactory organ to the bottom of the chin.
The eyes are halfway between the top of the head and the mentum.
The lesser of the nose is halfway betwixt the eyes and the chin.
The mouth is ane 3rd of the altitude between the olfactory organ and the mentum.
The altitude between the eyes is equal to the width of ane eye.
The corners of the oral fissure line up with the centers of the eyes.
The top of ears line up slightly above the eyes, in line with the outer tips of the eyebrows.
The bottom of the ears line up with the lesser of the nose.
The width of the shoulders is equal to two caput lengths

Source: https://juliannakunstler.com/art2_portrait.html
Posted by: hendricksonfalmyst64.blogspot.com
0 Response to "How To Draw The Human Face In Proportion"
Post a Comment